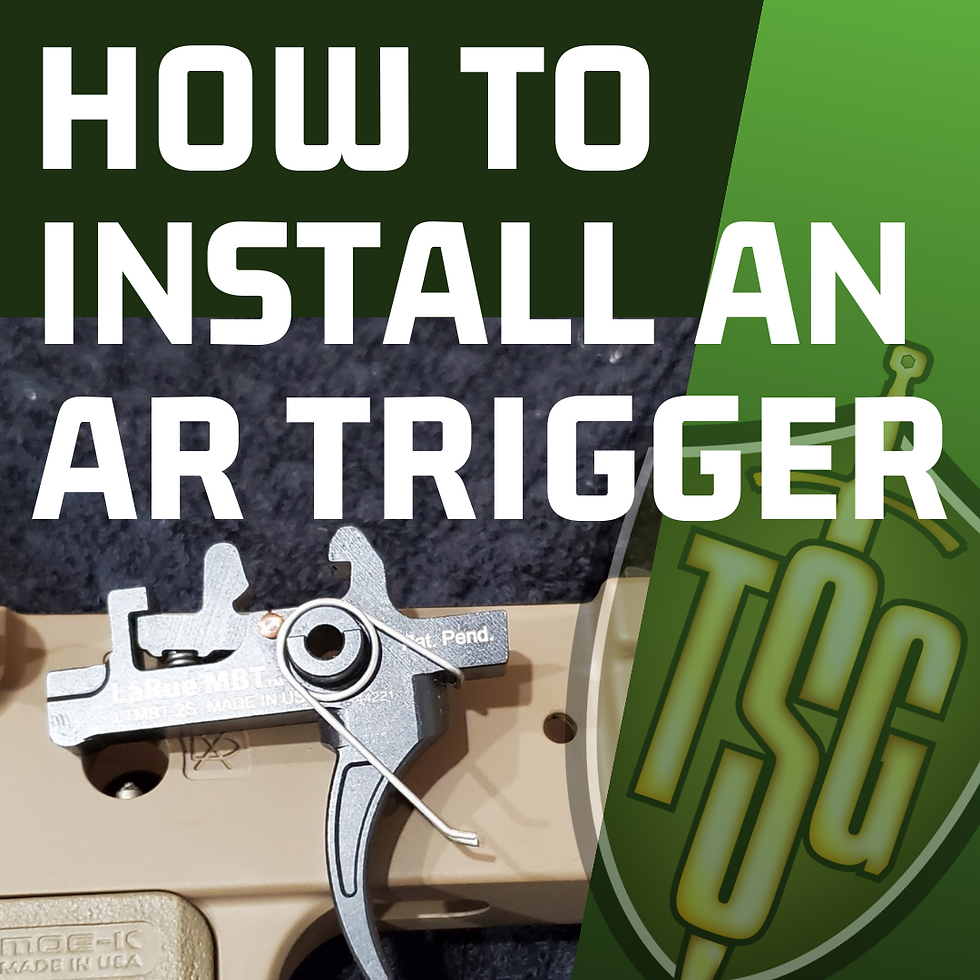
Standard, mil-spec, AR triggers are cast units made in high volumes by the lowest bidder. While they function just fine, they leave a lot to be desired. They usually have high pull weights, and gritty, dragging (creep) and long trigger pulls. The most popular reason to change the trigger in an AR15 is to have a lower pull weight, and crisper function.
There are also some triggers that use different designs to cater to different types of shooters. There are so many different triggers available, this guide is only for the standard trigger group install. Most other triggers will be close to this, but might have some different procedures.
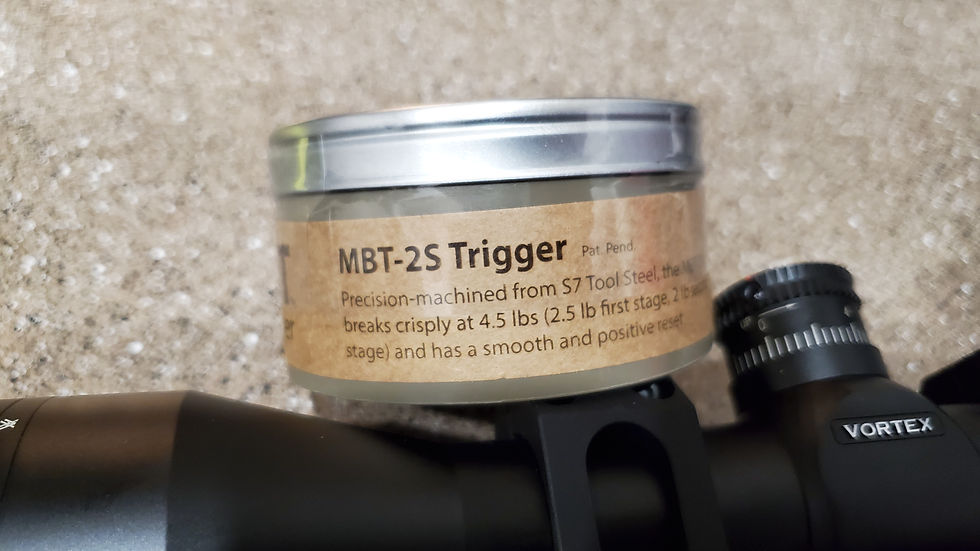
This morning we are installing a Larue MBT trigger into an Aero Precision AR.
Removal of Old Trigger
The first step is to separate your upper and lower receiver.
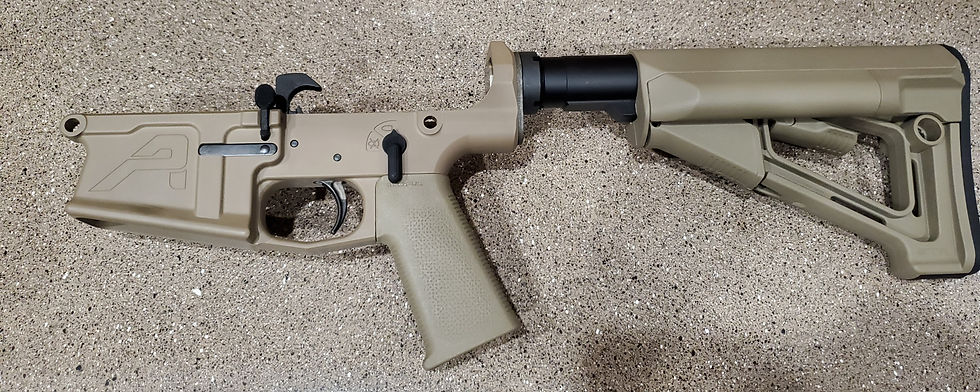
Next loosen or remove your pistol grip. The pistol grip compresses springs for the safety lever detent and the rear take down pin detent. I prefer to just loosen it enough so these spring and detents stay in place, and I don't have to worry about losing or misplacing them.


Then you remove your safety lever. You must have the hammer pulled back to remove the safety. IMPORTANT NOTE: Allowing the hammer to spring forward while the upper and lower are separated can cause damage to your lower receiver. Use your thumb or hand to compress the spring tension on the hammer while pulling the trigger to allow the hammer to come forward slowly.
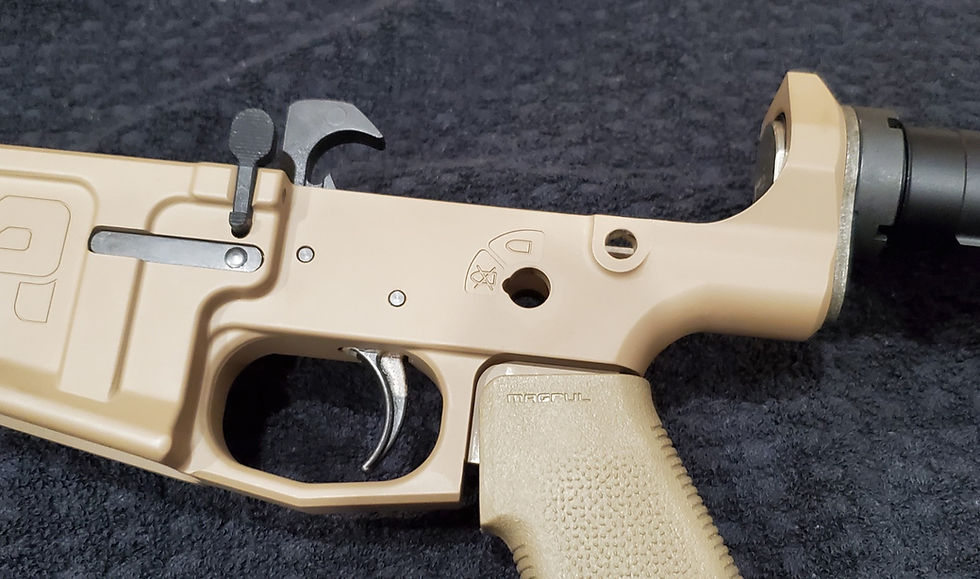
Now you can tap out the two pins that hold the hammer and trigger in the receiver with an 1/8" punch.

Install New Trigger
The trigger gets installed into the receiver first. Make sure your trigger and spring match the picture below before installing. Some kits come with the springs installed, and some you have to put the springs on the triggers and hammers before installation. To install the trigger, just drop it inside the receiver, line up the pin hole, and drive the pin in place.
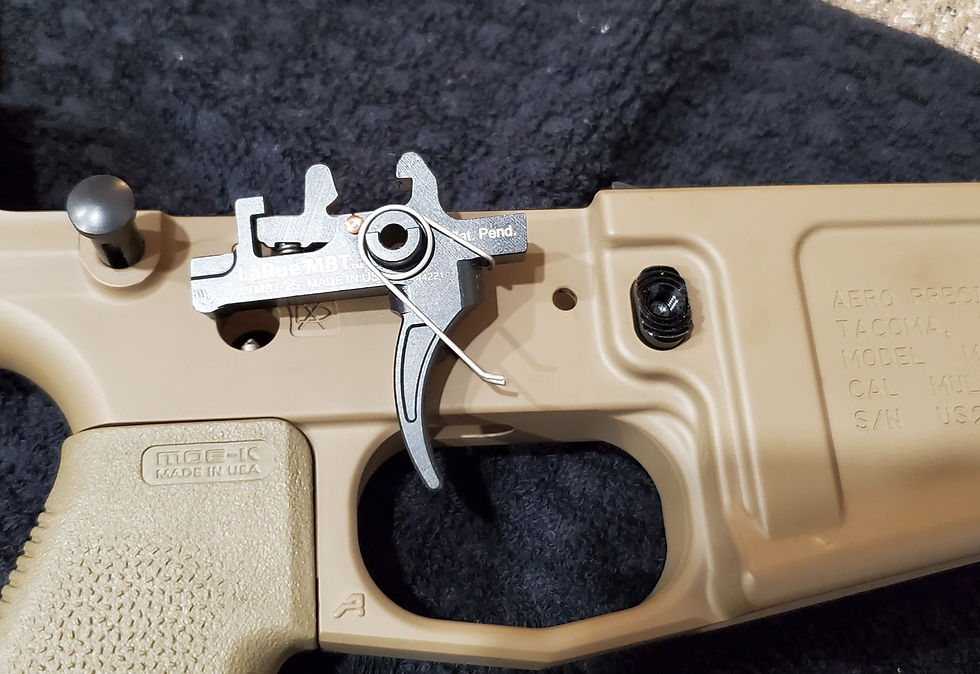

Next you install the hammer. Again, make sure your hammer and installed spring match the photo below.
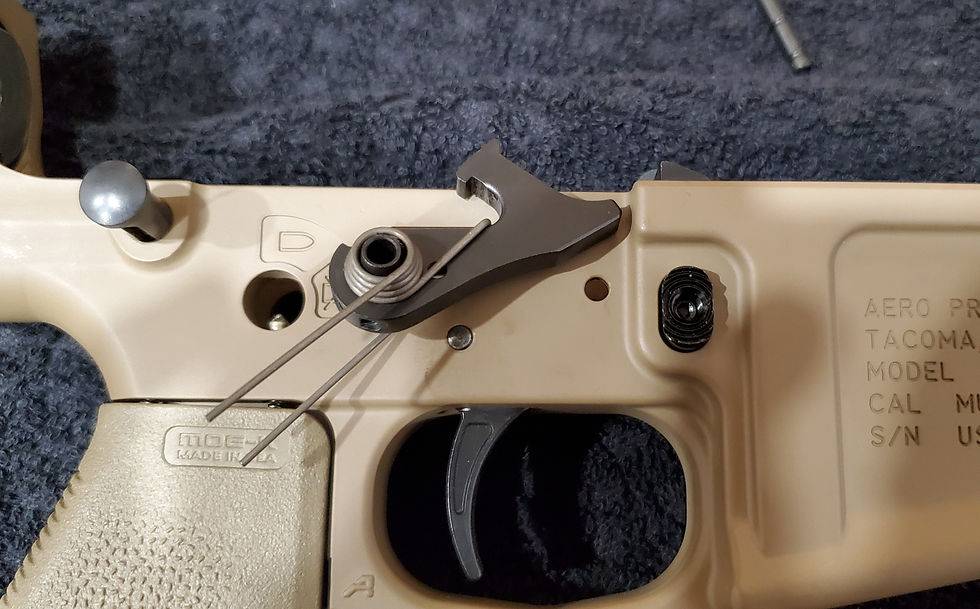
Unlike the trigger install, the hammer is a great pain in the ass to install. The legs of the spring ride on top of the trigger pin, so you have to compress them while holding a greasy piece of metal, and lining up a small hole. I highly recommend using your 1/8" in to hold the hammer in place while driving the pin in place. This will really help keep things aligned while the pin is being driven in, and you won't have to fight it nearly as much.
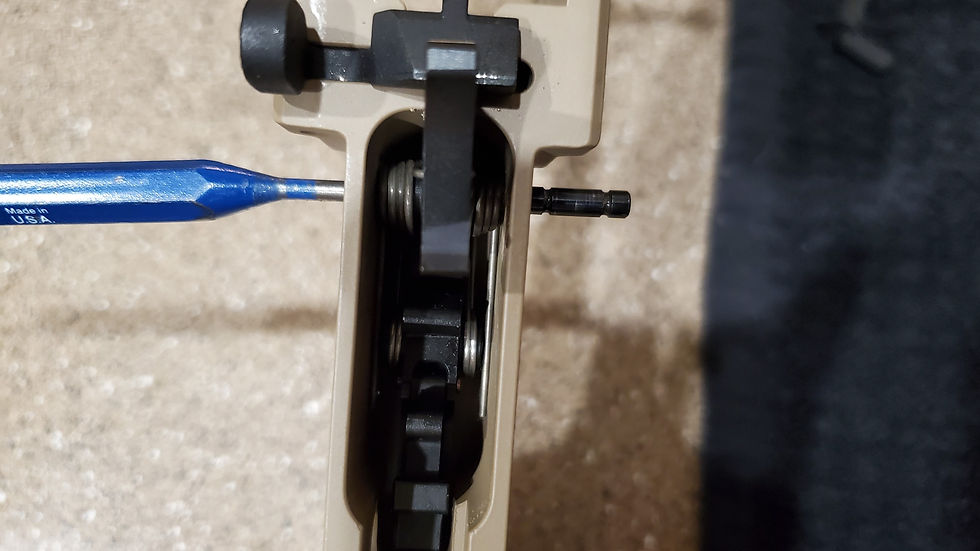
All that's left to do now is reinstall your safety lever (with the hammer pulled back) and tighten up your grip. You can function check your safety and trigger operation before putting your upper and lower back together, just remember not to let the hammer snap forward against your lower.
Results of the New Larue MBT Trigger
Here are some before and after pull weights from the old trigger to the new Larue MBT Trigger:
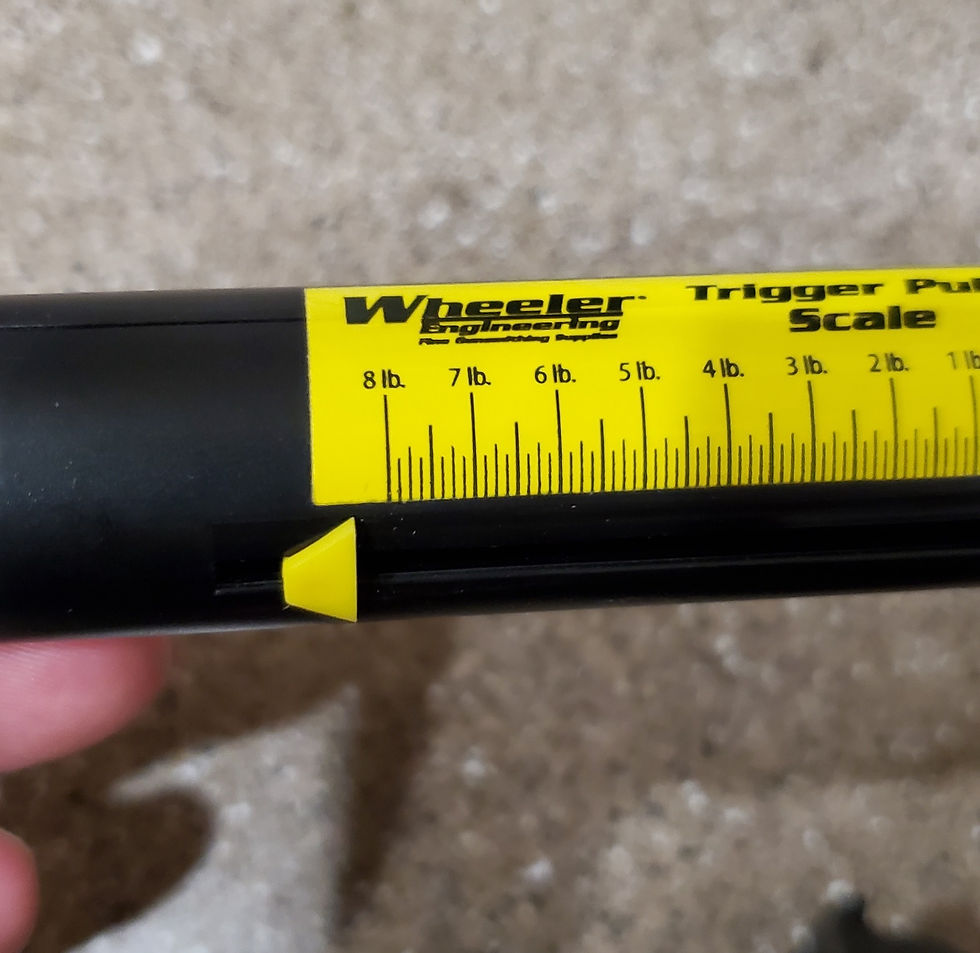
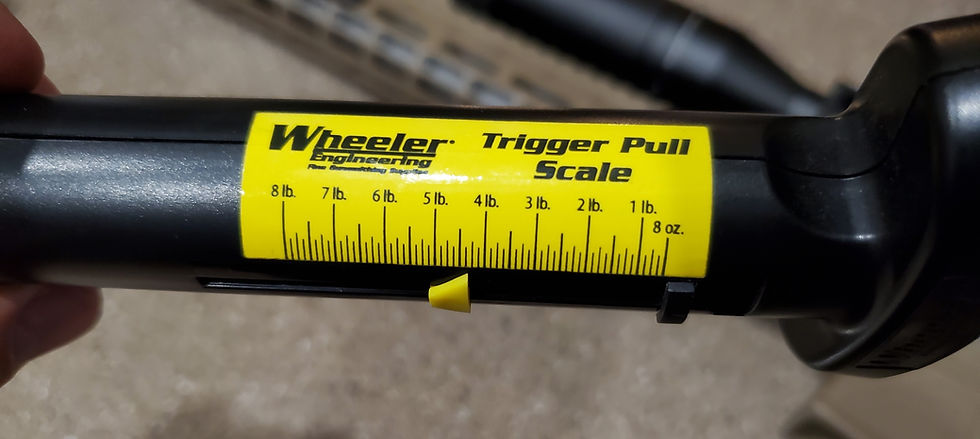
The mil-spec trigger was a pretty egregious example coming in with an average pull weight of 8lbs. The Larue pull was almost half of mil-spec trigger with an average pull weight of 4.25lbs. The Larue also has a shorter pull and a cleaner break. This allows for a much most predictable trigger break compared to the mil-spec trigger. This should enhance pretty much anything you are doing with the rifle. From accuracy, to predictable follow up shots, to safety.
Comments